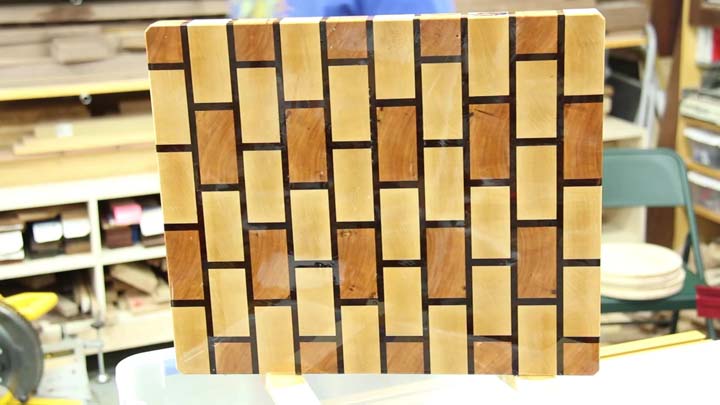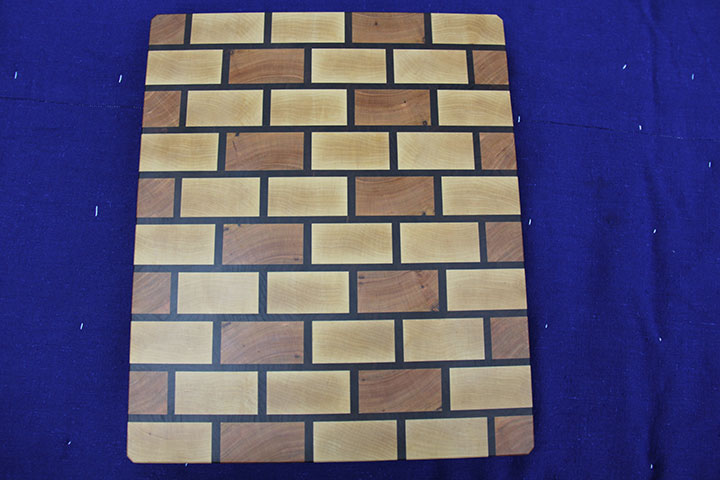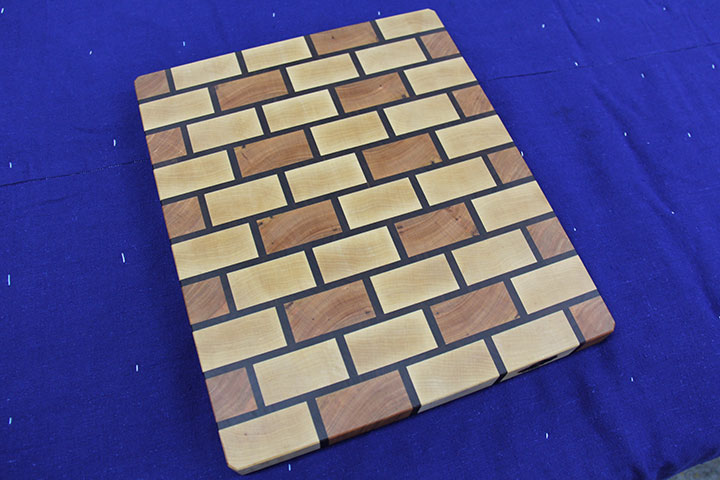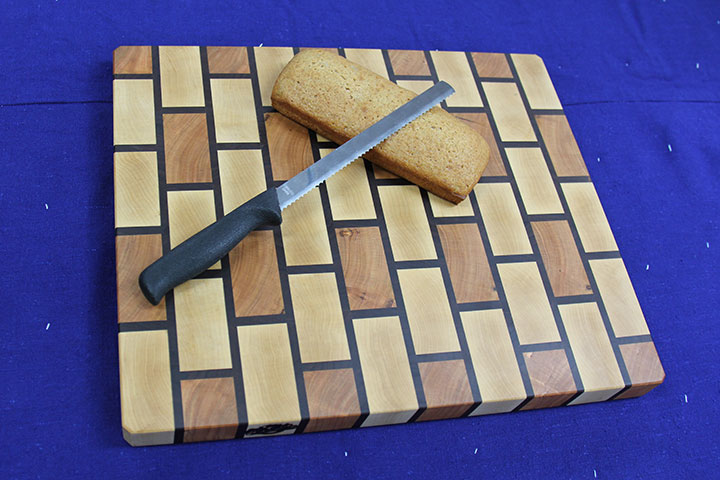

I made a beautiful brick pattern End-Grain cutting board out of maple, cherry and walnut. It was finished with a good soaking of mineral oil and then a final buffing of my mineral oil & beeswax mixture. Check out the video below to see how I made it!
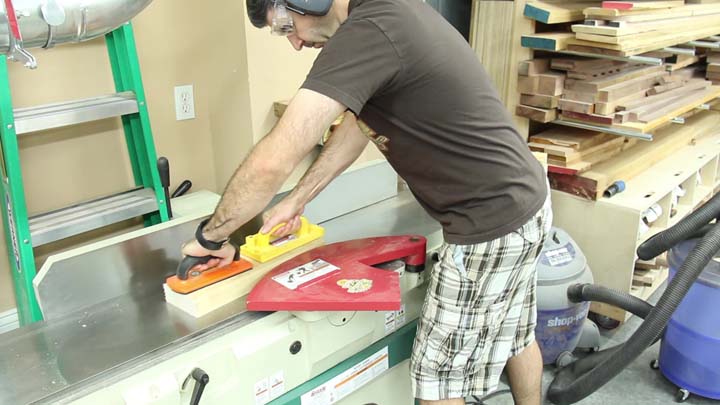
I stated by flatening all of my rough cut lumber on my jointer.
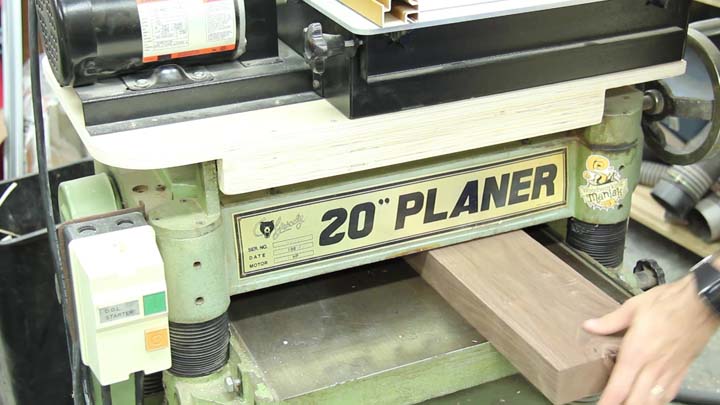
And then made all of the boards the same thickness at the planer.
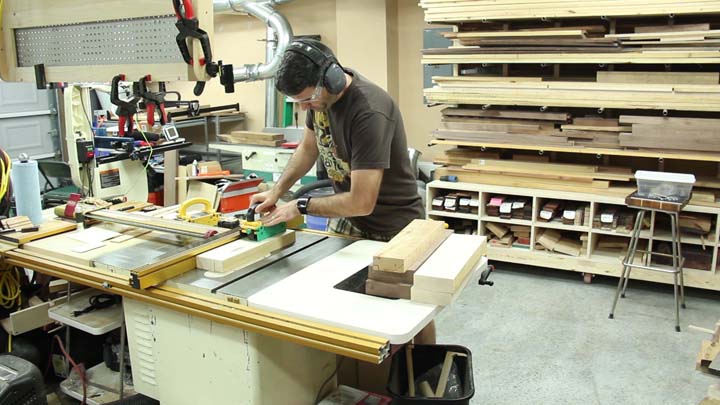
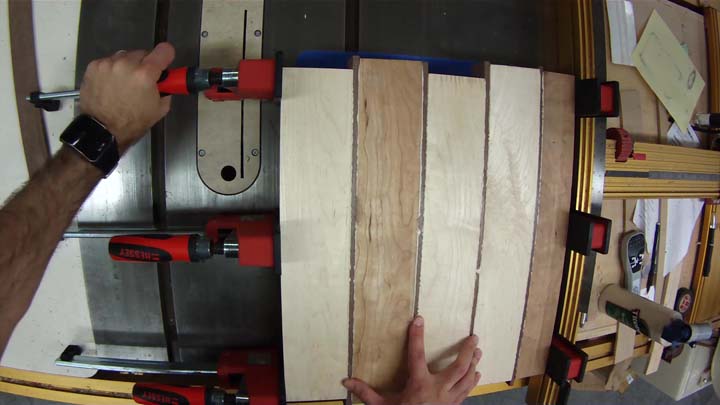
At the table saw, I cut one strip of maple at roughly 3 1/4″ wide and two strips at 3″ wide. Then one strip of cherry at 3″ wide. and one at roughly 1 3/4″ wide.
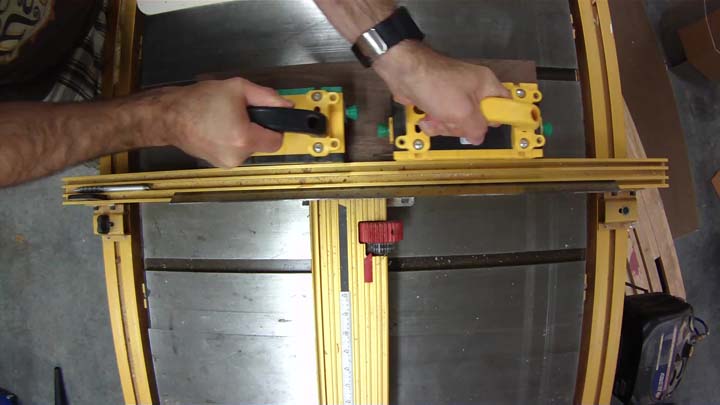
Then I cut strips of walnut at 1/4″ wide to create a dark “mortar” look in between the lighter bricks.
Then I glued up all of the strips to make the first glue-up panel.
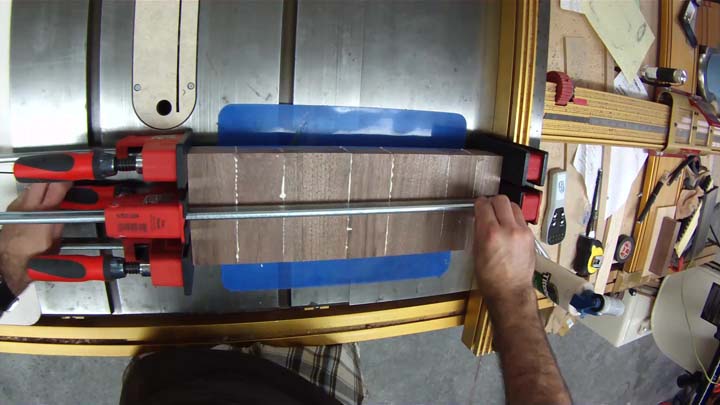
Then I cut a few shorter strips of walnut and made a panel just as wide as the previous panel.
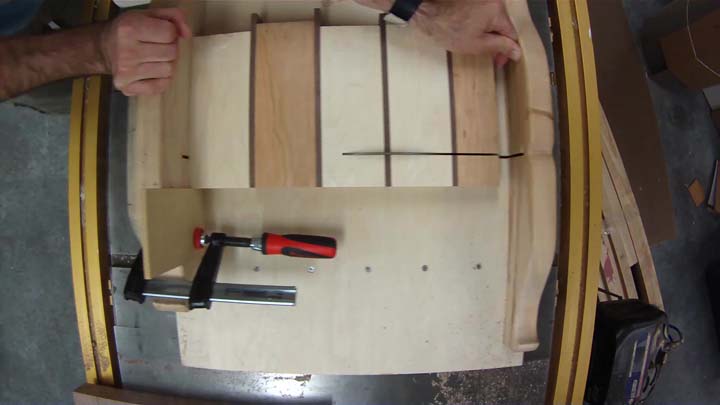
Then I cut all of them into 1 1/2″ strips.
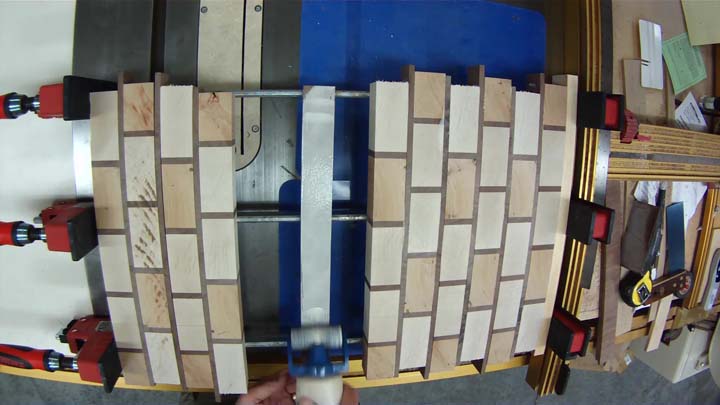
I cut the walnut into 1/4″ end-grain strips after that and then glued it all into a brick pattern.
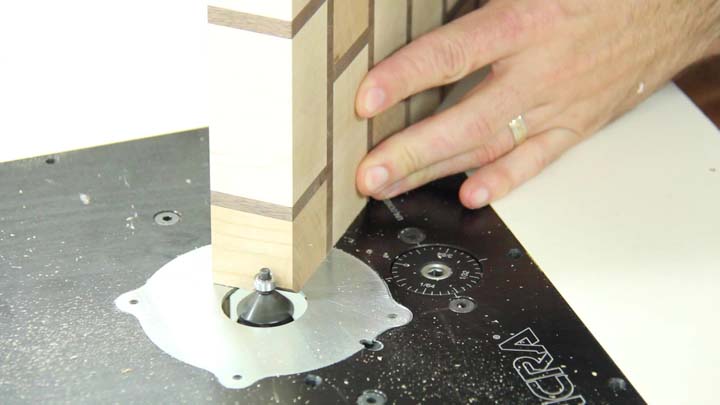
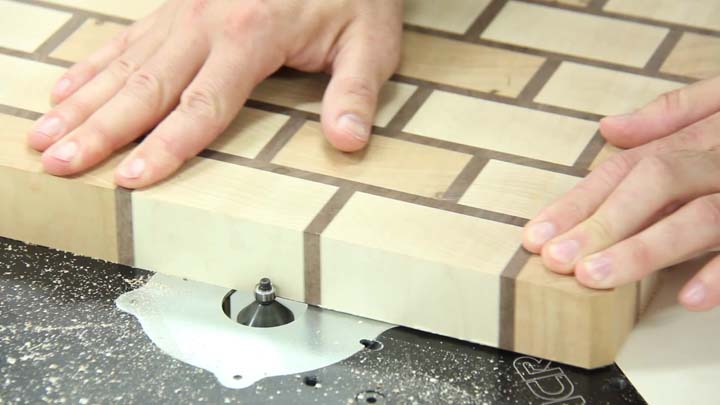
I then put a good size chamfer on all four corners.
After that I lowered the bit and put about a 1/8″ chamfer around the whole board.
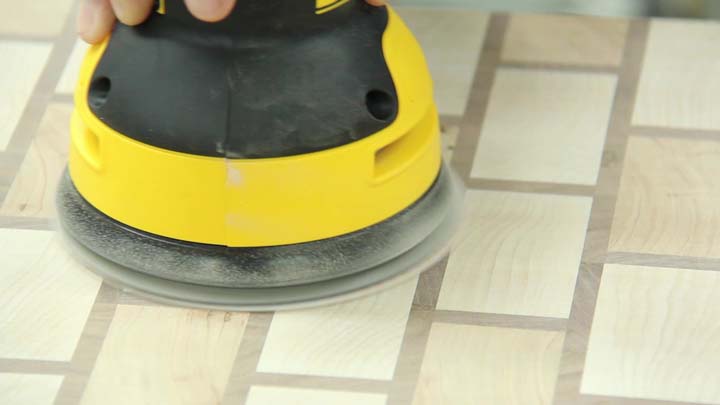
Then I moved on to sanding… Lots and lots of sanding. I started with 80 grit. Moved on to 120, 220, 320 and then wet the board. After the board dried, I went back and sanded again with 220, 320 and then 400 grit. Wetting the wood raises the fibers of the wood and allows me to sand to a much smoother final finish.
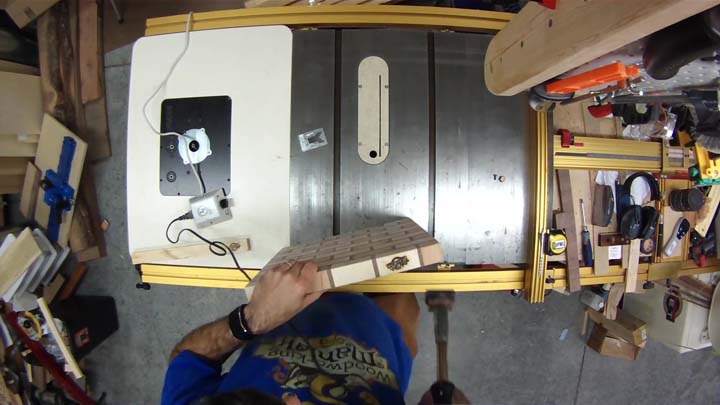
I brand all of my work. Here I’m showing how I use my logo burning brand tool.
I soaked the board in mineral oil and let the board take in as much oil as possible.
Then I heated up my mineral oil & beeswax mixture and applied that to the board. As this began to dry, I buffed that in to a final finish.
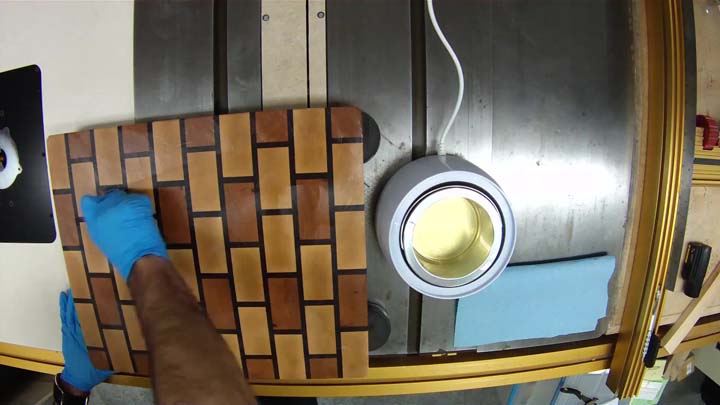
Here are a few more final pictures!

 20in Hanging 6 Player Wah...
  Long Cheese Slicer Assemb...
  Replacement Cheese Slicer...