

I build these Chinese Checker boards that store the marbles and hang on the wall. If you want to see how I do it, watch the video!
 I began this build by creating a pattern I could drill out on my drill press. I drilled the holes at 5/8″ diameter to fit a router bushing that I will be using on my plunge router base. I created the pattern to allow the marbles to be spaced 1″ apart from each other. I’m sharing this pattern free to be downloaded below:
I highly recommend using a center punch or an awl to leave an indention in the wood at the center of each hole. Using a 5/8″ forstner bit and having a center indention, it falls into place pretty well, makes drilling much quicker and more accurate.
I started with some rough sawn spalted poplar. After milling, I created a panel just above 16″ x 20″ in size. The final size ended up as 16″ x 18″
Once the panel was dry and sanded, I clamped the new plunge template in place and began boring 121 shallow holes for the marbles using a 1/2″ round nose bit. I set the bit depth to cut down just far enough to create a half sphere. Perfect for the marbles to settle into.
Chinese Checker Board Drill Template (16876 downloads )
Next I used a marble storage bit that I purchased through Amazon to cut short marble storage areas in the top and bottom of the game board. To do this I setup stop blocks on my router fence and made a plunge cut to start. This bit
After finishing all 6 of the marble storage slots, I setup more stop blocks to place two keyhole slots on the back of the board to allow it to be hung on the wall.
Continuing with the router, I put a 3/8″ roundover on each of the corners. Then a 1/4″ roundover all around the edges and moved on to sanding. Lots and lots of sanding…


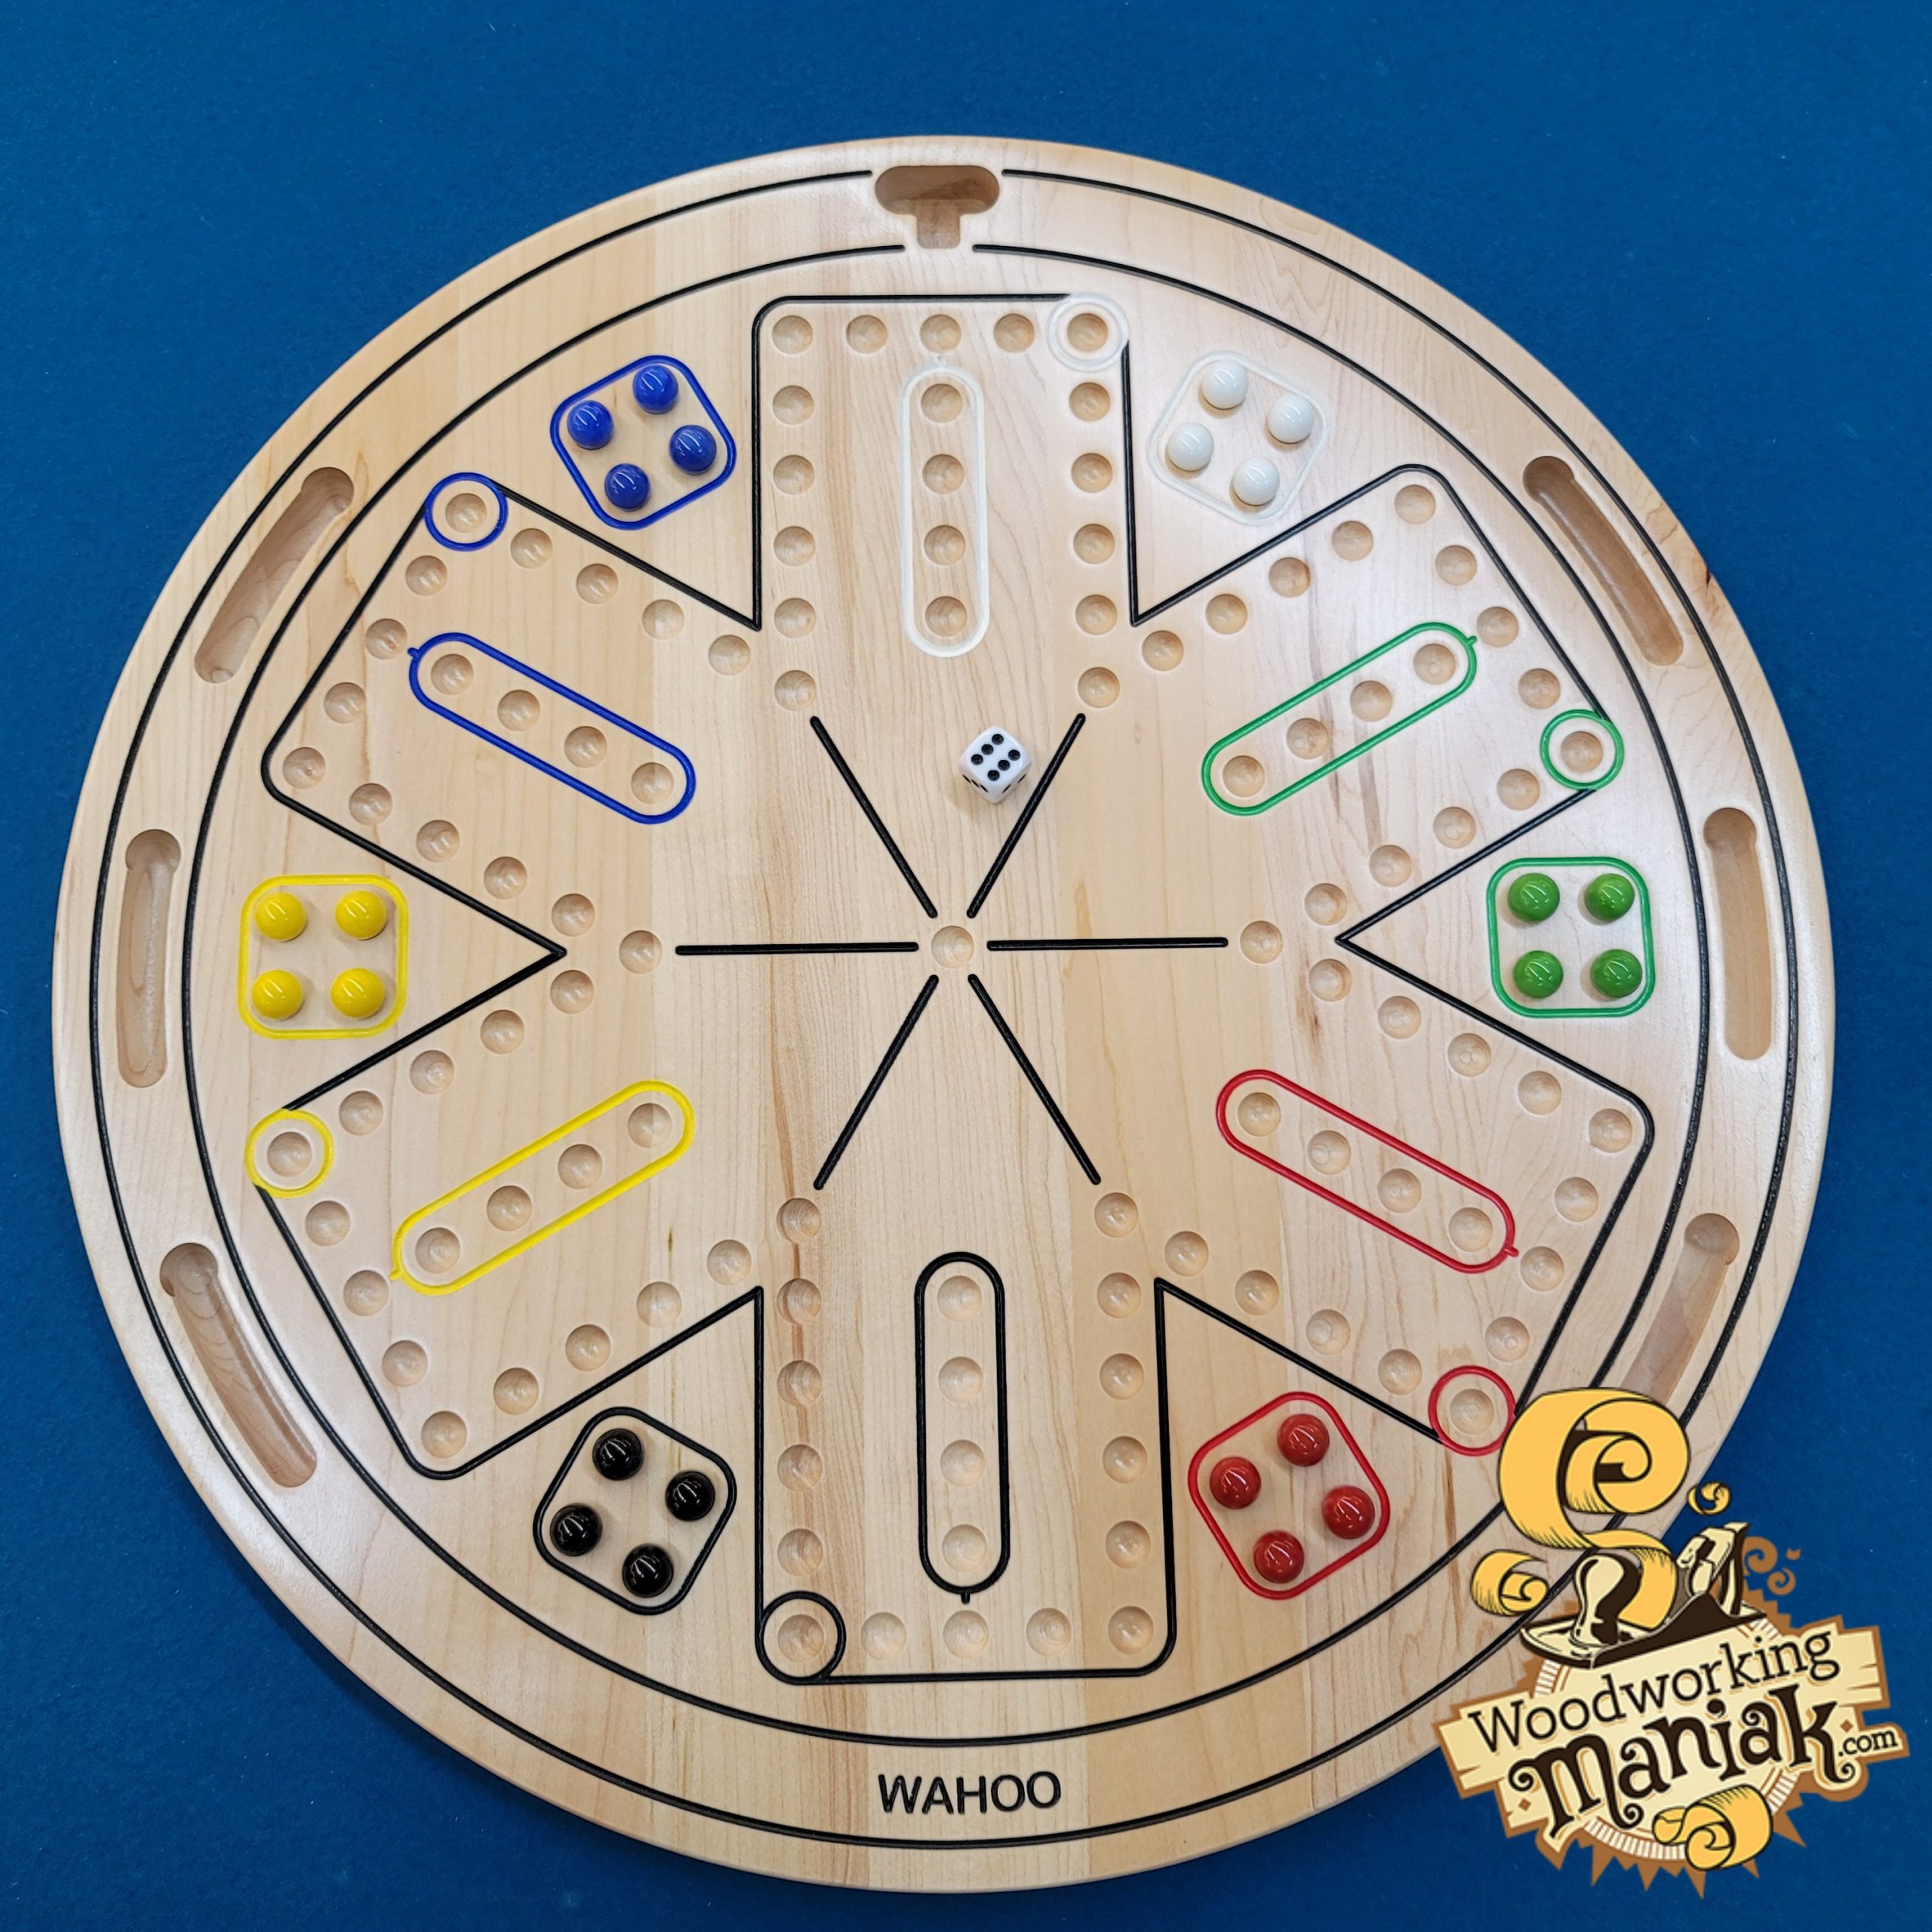 20in Hanging 6 Player Wah...
  Long Cheese Slicer Assemb...
  Replacement Cheese Slicer...


About to make my first board game using a bull nose bit and your idea on using a template + router bushing combination is just what I was looking for! Thanks for the inspiration!