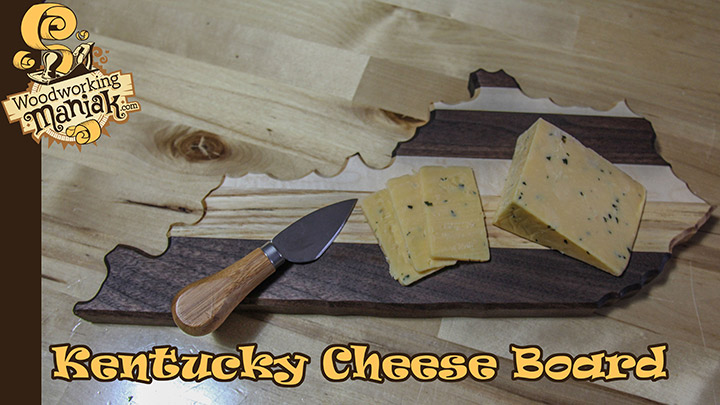
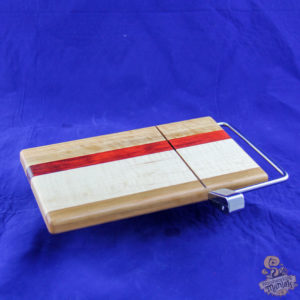
 I made this cheese slicer for my wife. We use it all the time! We love cheese… You can make one too! I made a YouTube video showing you how. Also, I sell the kits you would need at a better price than you’ll find at popular woodworking stores. Here is a link to the kits in my store. Check out the video and free plans for a Jig below!
Here is the drilling jig I used: Cheese Slicer Drilling Jig Plans (30427 downloads )
[YouTube_WD id=3 item=3]
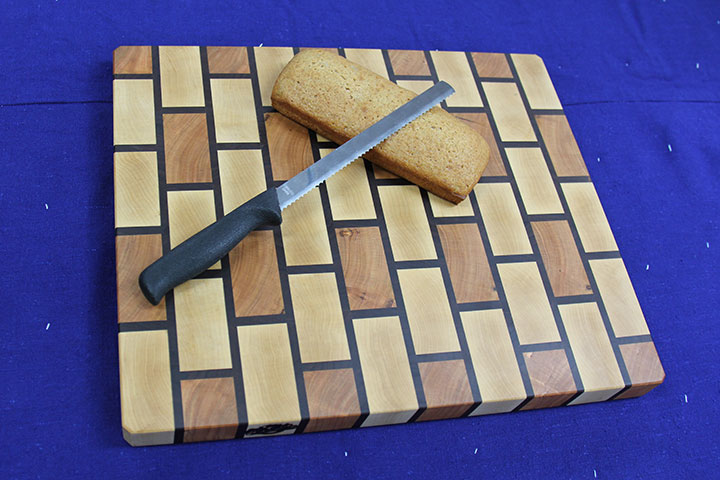
It doesn’t take much lumber to make one of these cheese slicers. All in all, the board needs to be around 9 1/2″ x 5 3/4″ or so. You can make it shorter or longer if you like. You can even change the shape up a bit if you are feeling frisky!
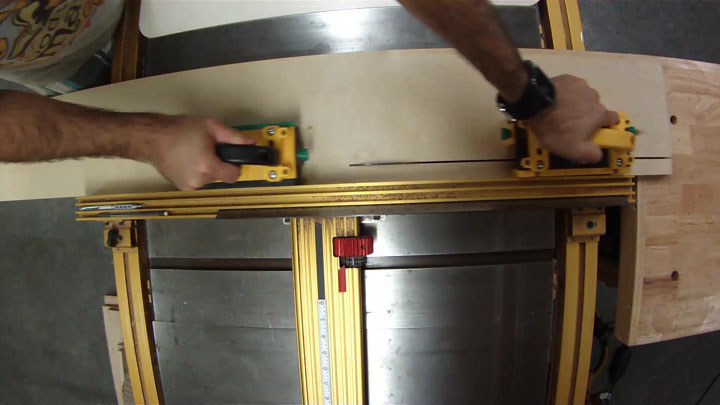
For this board, I pulled a few boards from my scrap bin and decided to go with some Curly Maple, a piece of Curly Cherry, Redheart and a little more Cherry to finish out an edge.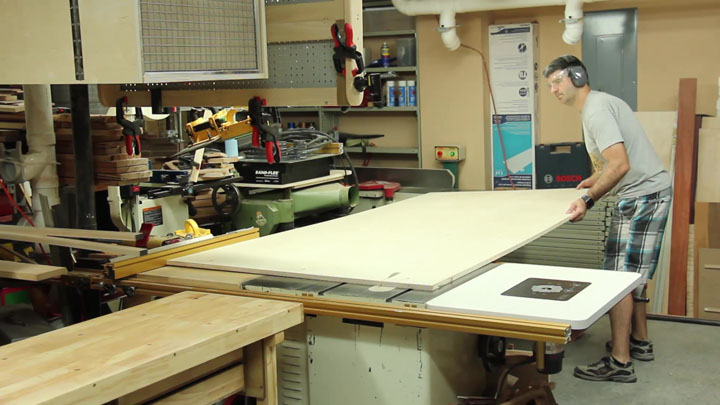 This is just angle of that cut… Cutting large sheets of plywood on my table saw without any sort of infeed support or and outfeed table is quite a chore. I ended up putting my workbench up against my saw to use as an outfeed table for this project because of working with these long cuts.
 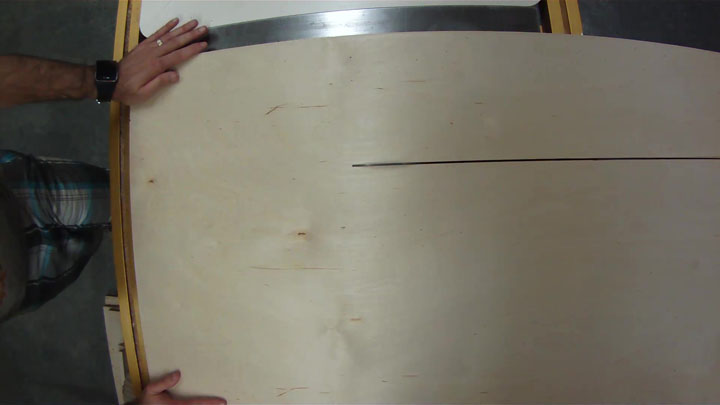 Next, from the strip that was left over, I cut off a 1″ strip to use later as a foot for the plywood storage area.
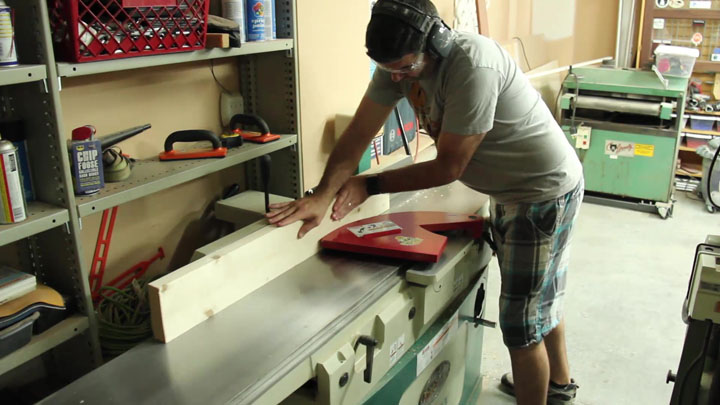
  Because pretty much all commercial grade lumber you buy from big box stores are not all that consistant in size, I decided to joint the edges.
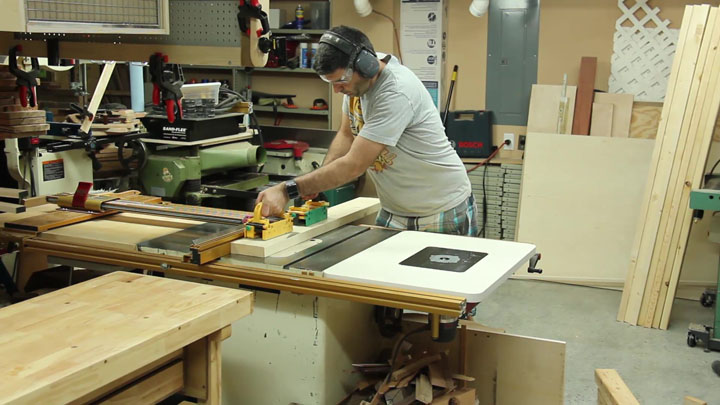
  Just like I would normally do, I had already cut the boards down to rough length. With the board jointed on one edge, I made all of my 2x6s 5 1/4″ wide and all of the 2x4s 3 1/4″ wide.
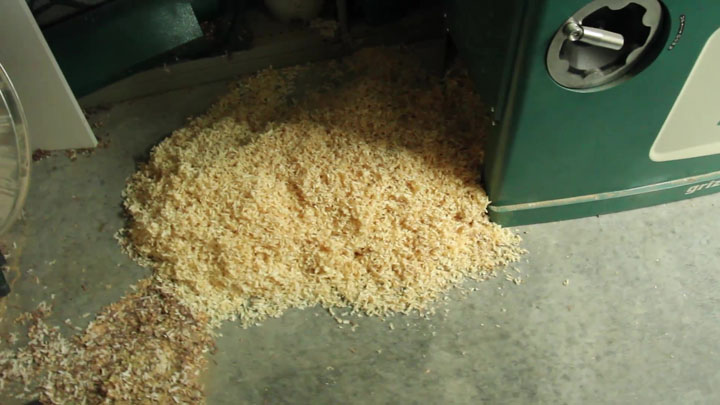
  Currently, because I’m currently in a bit of a shop-transition phase… I have not assembled my new dust collector and ductwork yet. So my jointer is just creating a nice pile of shavings.
  I setup a stop block toward the end of my fence at the length I wanted to cut in for the top rack storage above the sheet goods. Because I had the sheet goods portion set back at around a 5 degree angle, I needed this cut to be here so there would be enough lumber to support the upper racks.


 20in Hanging 6 Player Wah...
  Long Cheese Slicer Assemb...
  Replacement Cheese Slicer...

Thank you for your prompt attention to my request.
Happy to help!
I just watched your YouTube video on making a cheese slicer and was wondering what the final thickness of the board needs to be and where to drill the hole. Please assist.
In the description of the product on my website (HERE) there are a few instructional downloads available.
It’s obvious that the hole for the cutter goes on the end grain and 4 inches deep and centered on the board end, I didn’t hear where to place the hole from the edge. 1/4 or 1/2 inch?
Here is a downloadable PDF with direction: Cheese Slicer Assembly Instructions